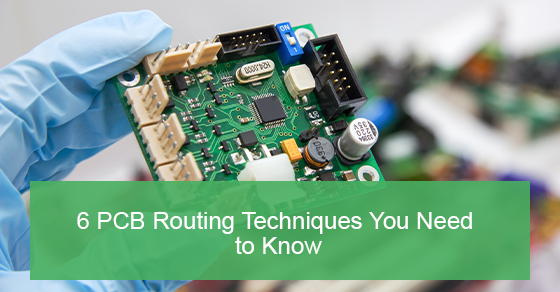
6 PCB Routing Techniques You Need to Know
Working on PCB boards can be fun, with lots to consider and plenty of opportunities to be creative, despite being a relatively technical task. However, for beginners, it can be easy to get caught up in following the minutiae rather than really understanding the design process and how to maximize things to make all your subsequent steps more efficient.
There is an old saying that PCB design is 90% placement and 10% routing and most experts will say that bears out. The better you manage to place things early on, the easier the routing will be. However, that doesn’t make routing any less important, and even if it’s not what you’re spending the majority of your time on, it’s something that you want to do as well as possible and perfect like any other craft.
So you’re looking at multiple moving parts and wondering what to do. Here are some useful PCB routing techniques that will help you and make the process flow as smooth as butter.
Don’t Lean Too Hard on Your Autorouter
Placed somewhere in nearly every piece of PCB design software is a function called the auto-router which, at a glance, seems to be an easy way to solve your routing problems in one fell swoop. Unfortunately, nothing good comes easy and this auto-router function won’t be a good replacement for routing yourself. It should really only be used to check your completion rating, to nail down bottlenecks or critical connection points, or as inspiration to help solve some routes that you just can’t trace.
Otherwise, steer clear as it’ll lack accuracy, symmetry and the craftsmanship of a human touch that will maximize the quality of your project.
Routing Traces Out of BGA Packages
Fine-pitched parts like BGA packages will only get bigger in the future, adding more and more pins to fully boost computing power. This will require certain techniques to best route the increasingly complex parts. There are some basic things you can do here, like organizing your signal paths and using diagonally routed escape patterns for larger devices. Keep this in mind and it’ll pay off massive dividends in the future.
Create a Solid Schematic
The best-laid plans in the case of PCB routing never go wrong. Make sure you have a solid schematic to build things from so you can start the process without getting lost in the interweaving webs of your layout. Aside from circuitry, here are some tips to drive the layout properly.
One is to have logical circuitry flow, meaning you route their nets correctly. You also want to make sure that the critical nets of high-speed signal paths are routed precisely so that performance is maxed out. Identify the nets (clocks, memory, data and others) so that the layout team can best prioritize routing.
Plus, make sure you have a clean power delivery network and solid ground planes for signal return paths and noise control. Identify power and ground areas of concern and isolation between digital and analogue networks.
Also, make sure you set design rules and constraints to pass forward into the PCB layout. High-speed constraints, groups or classes of nets can be great for this purpose. Lastly, make sure to cross-probe with the schematic. Once you do this you can rely on the schematic side to be ready to go for the layout team.
Figure Out Your Trace Widths
With high voltage flying through your copper traces, you can expect serious heat to be produced which you need to diffuse properly. To control this heat build-up well, consider the width of your traces. This is one key method for reducing how much heat builds up. The wider your traces, the less resistance that electricity will encounter when flowing through your circuit.
Try using trace width calculators that let you put in your estimated current and thickness to get a trace width value in return for external and internal layers. A key thing to remember is that if you want to use larger trace widths that’s always a good thing. As long as you meet the manufacturer requirements, the larger the traces you use, the less likely you are to get a board back with broken connections of all kinds.
Maximize the Snap Grid Usage
You can make your life a lot easier with the snap grid, particularly in Autodesk EAGLE which gives you complete control over the snap grid settings. This will come in handy both during placement and routing.
Turn on visible grid snap and you’ll definitely feel the payoff when you’re working denser boards with more required precise placement. As a solid rule, try setting your snap grid spacing to 0.050” for routing. Consider an alternative spacing of 0.025” when you need to design a tightly spaced connection between components. And keep the grid on all the time.
Avoid 90 Degree Angles
Don’t use 90 degree trace angles. Doing so can cause the outside corner of these angles to be etched narrower than your standard trace width. If this cascades enough, you might end up with a bunch of not fully-etched traces that’ll result in the worst of the worst, shorts.
Closing Thoughts
There’s a lot to consider even within the small subsection of PCB design that is routing. From routing techniques to planning techniques you have to do it all to the best of your ability if you want to continue creating boards of amazing quality.
Running through this list of PCB routing techniques may have done one of two things. Either your head is spinning with the technical jargon and the complexity of the process or you’re super excited to get started on PCB layout and design. Regardless of how you feel, this is where expert assistance can jumpstart your work and really make a big difference.
So if you’d like to find out more about routing techniques, reach out to us at Circuits Central at 1-888-602-7264 or via our PCB development page right here.